
How to Create a Fully Automated Sales Funnel for Free
Table of Contents
- The Basics of a Sales Funnel
- Choosing the Right Software
- Getting Started
- Creating Your Product
- Building Your Website
- Adding an Email Opt-in Form
- Creating a Sales Page
- Setting Up an Email Campaign
- Optional: Adding a Webinar
- Conclusion
- FAQ
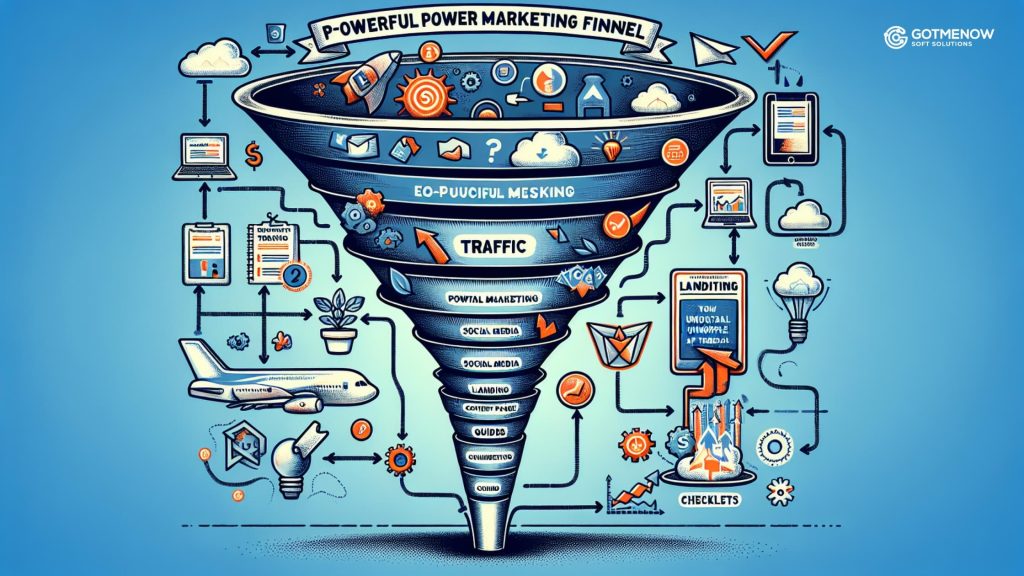
The Basics of a Sales Funnel
First, you’ll need a website where people can go to find out about your business and product. You’ll also need a free offer or a waitlist, something that people can sign up for to enter your funnel. Then, you’ll need an email marketing software to send out promotional emails. Optionally, you might want to include a webinar to make your sales funnel perform better. Of course, you’ll need a product to sell and a checkout page or shopping cart for people to purchase your product. Finally, you’ll need a payment processor to process credit card payments.
Choosing the Right Software
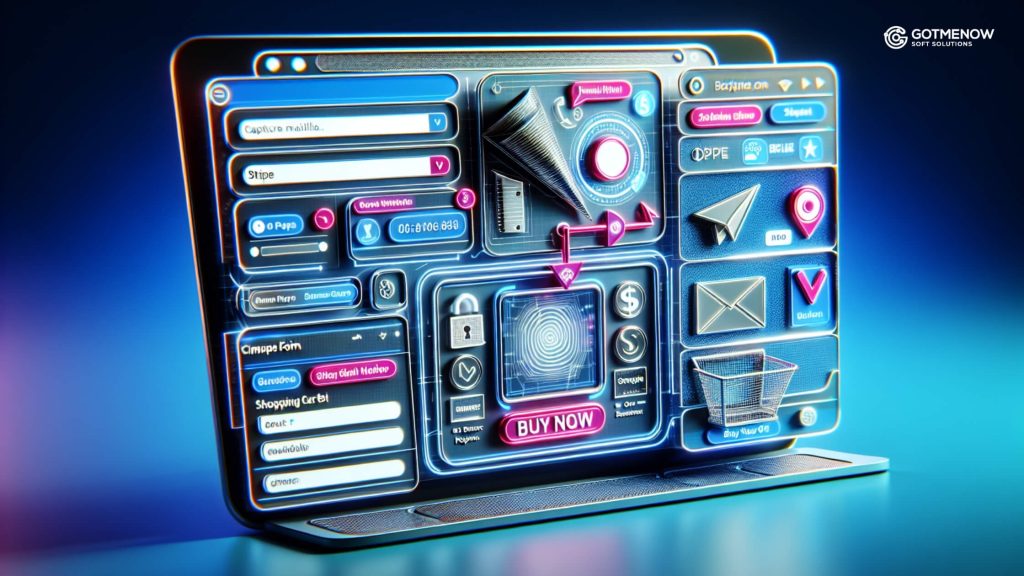
There are many different software options available to create each of these assets. Some options for building a website include Google Sites, Mailchimp’s free website builder, Mailerlite’s free website builder, and Squarespace’s free website builder. For email marketing, Mailchimp, Mailerlite, and ConvertKit all have good free plans. As for the shopping cart and payment processor, you could use ConvertKit’s free selling tool, Teachable, Square, or Stripe. In this tutorial, we will be using Mailerlite as the backbone and adding on Stripe for the checkout process.
Getting Started
The first step is to create an account with Mailerlite and Stripe. Both accounts are completely free and easy to set up.
Creating Your Product
In Stripe, you’ll need to create your product by adding its name and price. You can also add a description to provide more information about your product.
Building Your Website
Next, use Mailerlite’s website builder to create your website. Give your site a name and choose a template that suits your needs. You can always start with a landing page and expand it into a full website later.
Adding an Email Opt-in Form
To collect contact information from your visitors, add an email opt-in form to your website. You can offer a free resource related to your product, create a waitlist, or simply have people sign up for your newsletter. Use Mailerlite’s form builder to create the form and embed it on your website.
Creating a Sales Page
If you want to have a dedicated sales page for your product, you can create one on your Mailerlite website. Add a picture of your product, its details, and testimonials if you have any. Include a “Buy Now” or “Sign Up” button that links to your Stripe checkout page.
Read More: Understanding the Sales Funnel: A Guide to Increasing Conversions
Setting Up an Email Campaign
Now, it’s time to create an email campaign that promotes your product. Use Mailerlite’s automation feature to set up a series of emails that will be sent to subscribers. Design the emails and write the content to effectively promote your product.
Optional: Adding a Webinar
If you want to boost your sales, consider adding a webinar to your sales funnel. You can either do a live webinar using Zoom or upload a pre-recorded webinar to Vimeo and embed it on your website.
Conclusion
Building a sales funnel requires some work, but with the setup I’ve shared in this blog, it can be done completely for free. The funnel starts on your website, where visitors can learn about your brand and product. They’ll sign up for your email list and receive a series of emails promoting your product. They might also attend a webinar, and eventually, they’ll click the link to purchase your product on your Stripe checkout page.
No matter what system you use to create your sales funnel, it will require some time and effort. However, with the setup I’ve shown you, it won’t cost you any money. Take advantage of the free tools available and start building your own sales funnel today.
FAQ
Is it really possible to create a sales funnel for free?
Yes, it is possible to create a fully automated sales funnel for free. With the right combination of software, such as Mailerlite and Stripe, you can build a seamless and professional funnel without spending any money.
How long does it take to set up a sales funnel?
The time it takes to set up a sales funnel will vary depending on your experience and the complexity of your funnel. With the setup demonstrated in this tutorial, you can expect to spend less than an hour setting up the funnel, excluding the time required to write the email copy.
Do I need a website to create a sales funnel?
Yes, a website is an essential component of a sales funnel. It serves as a platform for visitors to learn about your business and product. However, you can start with a simple landing page and expand it into a full website later.
Can I sell products directly on my Mailerlite website?
Yes, if you upgrade your Mailerlite account, you can sell products directly on your website. However, with the free plan, you can still add a “Buy Now” button on your sales page that links to your Stripe checkout page.
Should I include a webinar in my sales funnel?
Including a webinar in your sales funnel is optional but highly recommended. A webinar can significantly improve your conversion rate and persuade more people to purchase your product. However, setting up and conducting a webinar requires additional work.
Read More: Email Marketing: The Key to a Healthy Online Business
What is the advantage of using Mailerlite as the backbone of my sales funnel?
Mailerlite offers a great software platform with many advanced features, even on their free plan. It also allows you to build a website for free and integrates seamlessly with Stripe for processing payments. Overall, Mailerlite provides a professional and easy-to-use solution for creating a sales funnel.
Can I get support for setting up my sales funnel?
While Mailerlite may not provide direct support for setting up your sales funnel, there are many resources available online, including tutorials and forums, where you can find help and guidance. Additionally, you can refer to the template and instructions provided in this blog to assist you in the setup process.